
The Ultimate Guide to Winterizing Your Garden Soil
As the days shorten and the first frost approaches, many organic gardeners make the mistake of thinking the growing season is simply "over." In reality, the transition into winter is one of the most critical phases in the biological calendar of your garden. Winterizing isn’t just about putting your tools away; it’s about biological stewardship.
When we talk about winterizing soil, we are discussing the preservation and enhancement of the soil's physical structure, chemical composition, and biological activity. For those committed to organic gardening, this period offers a unique opportunity to replenish the trace minerals and organic matter that were depleted during the frantic growth of summer. By taking the right steps now, you ensure that your "best plant food" isn't just a bag of fertilizer you buy in April, but the very earth your seeds will call home.
The Science of Soil Dormancy
Soil is a living, breathing ecosystem. Even when the surface appears frozen, the subterranean world remains active: albeit at a slower metabolic rate. Microorganisms, earthworms, and fungi continue to process organic matter, provided they have the right environment.
The goal of winterization is to optimize this "slow-cooker" effect. Without proper preparation, winter can be harsh on soil. Wind and heavy rain can cause erosion, while the lack of plant cover can lead to nutrient leaching, where essential minerals are washed deep into the subsoil, out of reach of next year’s vegetable roots.
Step 1: The Clean Sweep and Pathogen Management
Before you can add the good stuff, you have to remove the potential "bad" stuff. Start by clearing away spent vegetable plants, especially those that showed signs of disease or pest infestation.
In organic systems, leaving some biomass is often encouraged, but "spent" crops can host fungal spores and insect eggs that survive the winter. For instance, tomato blights or powdery mildew can overwinter in plant debris. By removing this material now, you break the life cycle of these pathogens.
However, don't leave the soil bare. Bare soil is vulnerable soil. Once the debris is cleared, you are ready to begin the mineralization process.
Step 2: Mineralization: The Secret to Nutrient Density
One of the most overlooked aspects of fertilizer for vegetables is mineral density. Most commercial fertilizers focus on the "Big Three" (Nitrogen, Phosphorus, and Potassium), but true plant health: and the nutritional value of the food you grow: depends on trace minerals like magnesium, selenium, calcium, and iron.
This is where the application of Drops of Balance becomes a game-changer for the organic gardener. Most tap water and even some rainwaters contain contaminants like chlorine and fluoride that can inhibit microbial life. By using a mineral concentrate, you aren't just "watering" your soil; you are recharging its ionic potential.
When you treat your soil with sulfate-based trace minerals during the fall, you allow these elements to bond with soil particles over the winter. This process, known as improving the Cation Exchange Capacity (CEC), ensures that when spring arrives, the nutrients are bioavailable for the young roots of your seedlings.
Step 3: Feeding the Microbiome
Adding minerals is half the battle; the other half is ensuring the biological workforce is present to process them. Fall is the ideal time to add organic matter such as compost or well-rotted manure.
Compost and Manure
Apply a 2 to 3-inch layer of high-quality compost over your garden beds. If you are using manure, fall is actually the safest time to apply it. Since manure can be "hot" (high in nitrogen) or contain pathogens, the four to five months of winter allow it to break down safely and integrate into the soil structure.
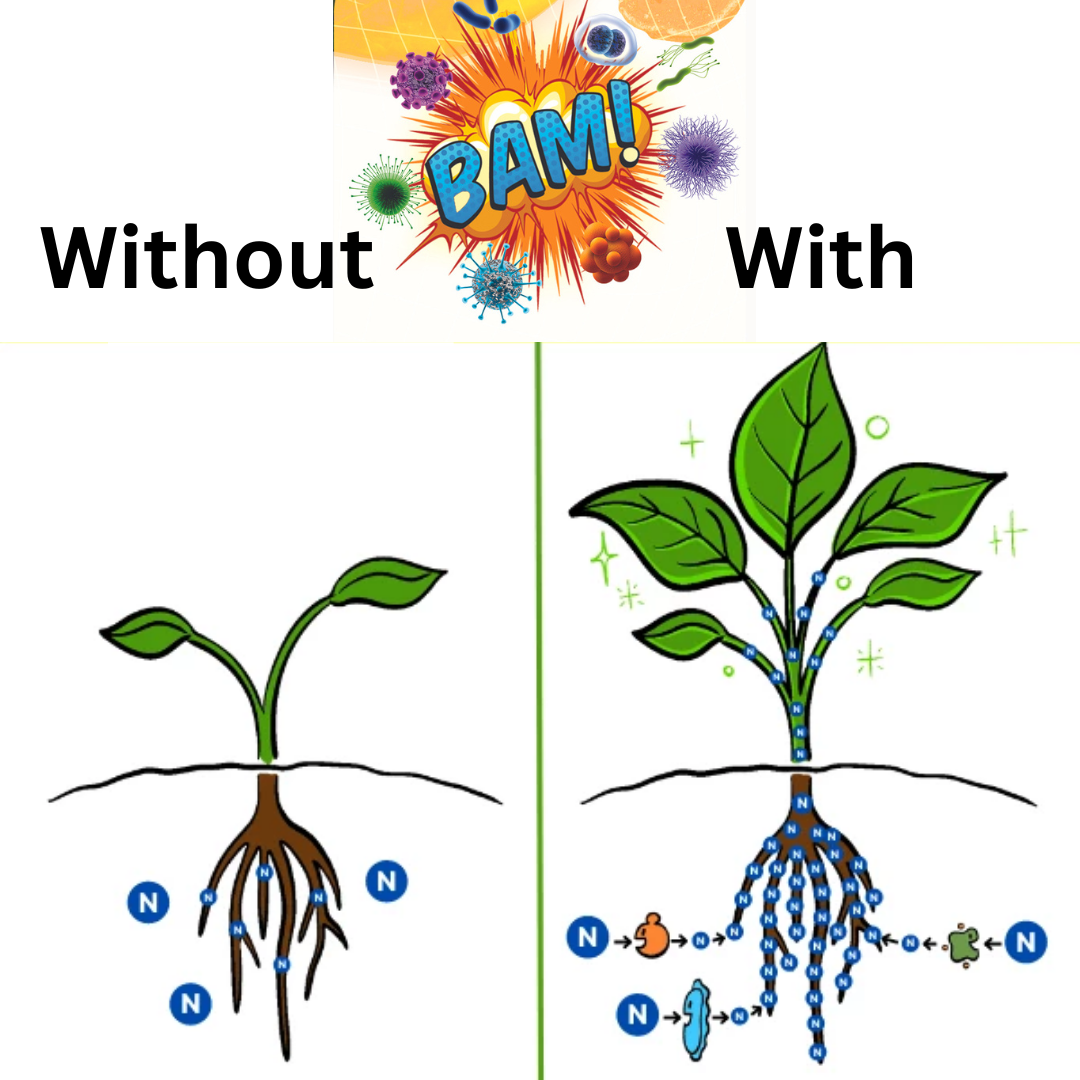
Microbial Inoculants
To accelerate the breakdown of this organic matter, many experts recommend adding a microbial inoculant. Products like BAM! Microbial Inoculant Concentrate introduce beneficial bacteria and fungi that thrive in the decaying organic matter. These microbes act as the bridge between the minerals and the plants, converting inorganic elements into forms that roots can actually absorb.

Step 4: Cover Cropping: Nature’s Green Blanket
If you aren't planning on mulching with straw or leaves, cover crops are your best friend. Often referred to as "green manure," cover crops like winter rye, clover, or vetch serve multiple scientific purposes:
- Nitrogen Fixation: Legumes like clover take nitrogen from the atmosphere and "fix" it into the soil through nodules on their roots.
- Erosion Control: The root systems of these plants hold the soil in place against winter winds and heavy snowmelt.
- Soil Aeration: Deep-rooted cover crops like forage radishes can break up compacted soil layers, acting as a "biological tiller."
In the spring, you simply mow these crops down and let them decompose, providing a fresh burst of nitrogen and organic carbon just as your primary crops are being planted.
Step 5: Mulching for Thermal Insulation
Think of mulch as a blanket for your soil microbes. Extreme temperature fluctuations: the constant freezing and thawing of the ground: can be stressful for the soil's biological community. A thick layer of mulch (straw, shredded leaves, or wood chips) provides thermal mass that keeps the soil temperature more consistent.
Keeping the soil slightly warmer for longer into the autumn allows earthworms to stay active near the surface, where they continue to aerate the soil and deposit nutrient-rich castings.
Step 6: Moisture and Chemical Balance
Even in winter, soil needs moisture, but it needs clean moisture. If you are in a region with dry winters and find yourself needing to supplement water, be wary of using untreated tap water. The chlorine in municipal supplies is designed to kill bacteria: and it doesn't distinguish between the "bad" bacteria in pipes and the "good" bacteria in your garden.
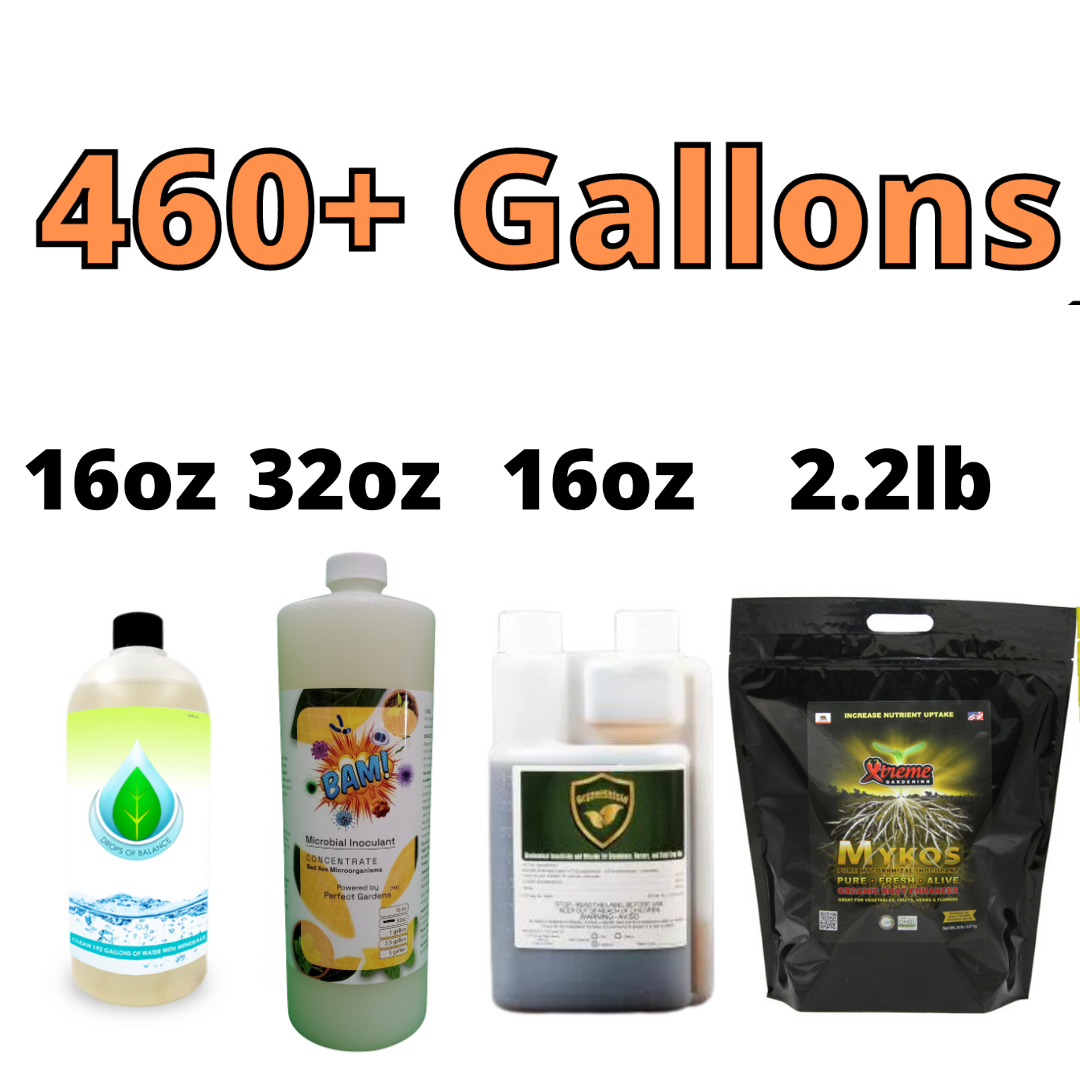
Using a solution like the 460 gallon Water and Soil Treatment Solutions Bundle ensures that you are adding hydration without the chemical burden. This is particularly important if you are growing winter crops like garlic or kale, which require consistent mineral uptake even during the colder months.
The Winter Checklist for Organic Gardeners
To wrap this up into an actionable plan, here is your step-by-step winterization guide:
- Soil Test: Before the ground freezes, conduct a soil test to see which minerals are lacking.
- Clean Up: Remove diseased foliage and "trash" plants.
- Mineralize: Apply a mineral concentrate like Drops of Balance to replenish trace elements.
- Amend: Add 2 inches of compost or organic matter.
- Inoculate: Add beneficial microbes to help break down amendments.
- Protect: Sow cover crops or apply a 3-4 inch layer of organic mulch.
- Irrigate: If the fall is dry, give the garden one last deep soak with mineral-treated water before the ground hardens.
Why This Matters for Spring
The effort you put in during October and November directly dictates the success of your April and May. Gardeners who skip winterization often find themselves dealing with "lazy" soil in the spring: soil that is compacted, nutrient-deficient, and slow to warm up.
By focusing on mineral density and microbial health now, you are essentially "pre-loading" your garden. When the soil temperature rises in the spring, your garden won't need to wait for fertilizers to break down; the nutrients will already be there, held in a stable, bioavailable matrix.
For more information on how to optimize your water and soil for the best harvest possible, check out our FAQ page or browse our collection of mineral-rich soil solutions. Happy gardening, and here’s to a productive winter of soil building!